Planning a tiling project can be exciting, but miscalculating your material needs can quickly turn that excitement into frustration. Whether you’re renovating a bathroom, installing a kitchen backsplash, or tiling an entire floor, knowing exactly how many tiles you need is crucial for both your budget and timeline. Our comprehensive tile calculator guide will walk you through the process of accurately estimating materials, helping you avoid costly overages or project delays due to material shortages.
Calculate Your Tile Needs Precisely
Stop guessing and start planning with confidence. Our tile calculator helps you determine exactly how many tiles you need for any project.
How to Measure Floor Area for Tiling
The first step in any tiling project is accurately measuring the floor area. This forms the foundation of your material calculations and helps ensure you purchase the right amount of tile.
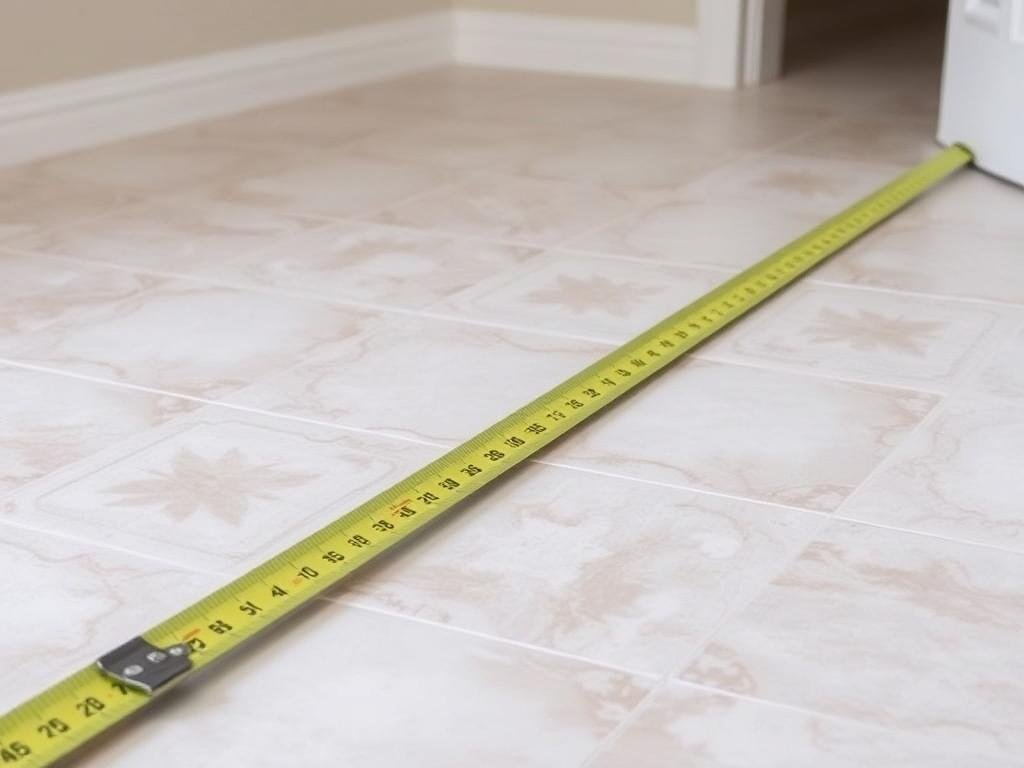
Accurate floor measurements are essential for proper tile calculation
For Rectangular Rooms
Measuring a rectangular room is straightforward. Simply multiply the length by the width to get the total square footage. For example, if your room is 10 feet long and 8 feet wide, your calculation would be:
10 feet × 8 feet = 80 square feet
For Irregular Spaces
For irregularly shaped rooms, divide the area into rectangular sections. Measure each section separately, calculate the square footage of each, and then add them together for the total area.
Step 1: Divide the Space
Break down the irregular space into measurable rectangles or squares.
Step 2: Calculate Each Section
Multiply length by width for each section to get individual square footages.
Step 3: Add All Sections
Sum up all section measurements to get the total square footage.
Step 4: Document Measurements
Keep a record of all measurements for reference when using the tile calculator.
How to Measure Wall Area for Tiling
Wall tiling requires a slightly different approach than floor tiling, especially when accounting for fixtures, windows, and doorways.
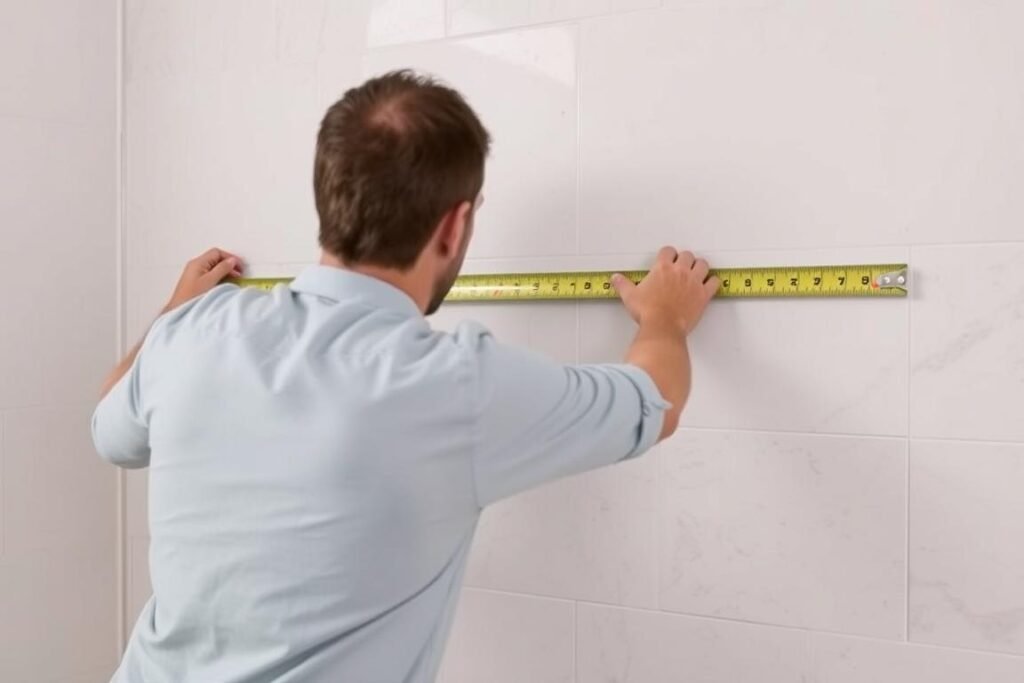
Wall measurements should account for windows, doors, and fixtures
Basic Wall Measurement
To calculate the total wall area, multiply the height by the width of each wall section. For example, if your wall is 8 feet high and 10 feet wide:
8 feet × 10 feet = 80 square feet
Accounting for Fixtures and Openings
For a more accurate estimate, subtract the area of windows, doors, and large fixtures. Measure each opening (height × width) and subtract from the total wall area.
Pro Tip: For backsplashes, measure the area between the countertop and upper cabinets. Don’t forget to account for electrical outlets and switches.
Need Help With Your Measurements?
Our tile calculator can help you determine the exact amount of materials needed based on your measurements.
Calculating Tile Quantity Needed
Once you have your area measurements, you can calculate how many tiles you’ll need for your project. This calculation depends on the size of your tiles and the installation pattern.
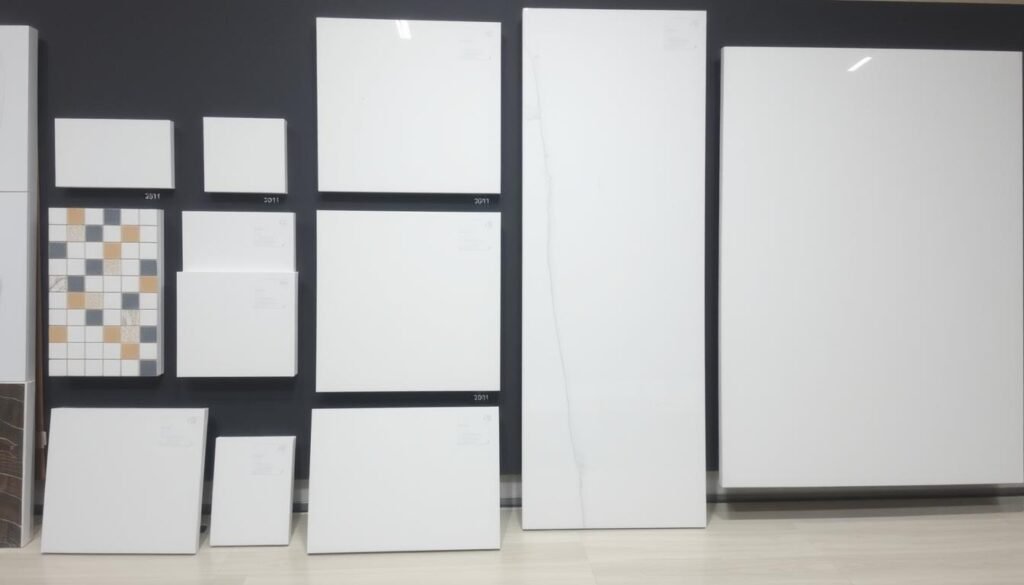
Tile size significantly impacts the quantity needed for your project
The Basic Formula
To calculate the number of tiles needed, use this formula:
Number of Tiles = Total Area (sq ft) ÷ Area of One Tile (sq ft)
Converting Tile Size to Square Footage
If your tile dimensions are in inches, you’ll need to convert to square feet:
Area of One Tile (sq ft) = (Tile Width × Tile Length) ÷ 144
Example Calculation
Let’s say you’re tiling an 80 square foot floor with 12″ × 12″ tiles:
Accurate calculations prevent material shortages during installation
Accounting for Waste Factor in Tile Projects
No tiling project goes perfectly according to plan. Tiles break, cuts go wrong, and some areas require partial tiles. This is why including a waste factor in your calculations is essential.
Recommended Waste Percentages
The industry standard for waste factor varies based on the complexity of your project:
| Project Type | Recommended Waste Factor | When to Use |
| Simple layout (grid pattern) | 10% | Standard rooms with few cuts |
| Diagonal layout | 15% | Tiles installed at 45° angle |
| Complex pattern | 20% | Herringbone, basketweave, etc. |
| Irregular space | 15-20% | Rooms with many corners or curves |
Calculating with Waste Factor
To include waste factor in your calculations, multiply your tile quantity by the appropriate percentage:
Total Tiles with Waste = Number of Tiles × (1 + Waste Factor)
Example: 80 tiles × (1 + 0.10) = 80 × 1.10 = 88 tiles
Important: Always round up to the nearest full box of tiles. Tiles can vary slightly in color between production batches, so buying all your tiles at once ensures consistency.
Calculate With Waste Factor Included
Our tile calculator automatically adds the appropriate waste factor based on your project type.
Calculating Grout Requirements
Determining how much grout you need is another important aspect of planning your tile project. The amount of grout required depends on tile size, grout line width, and grout line depth.
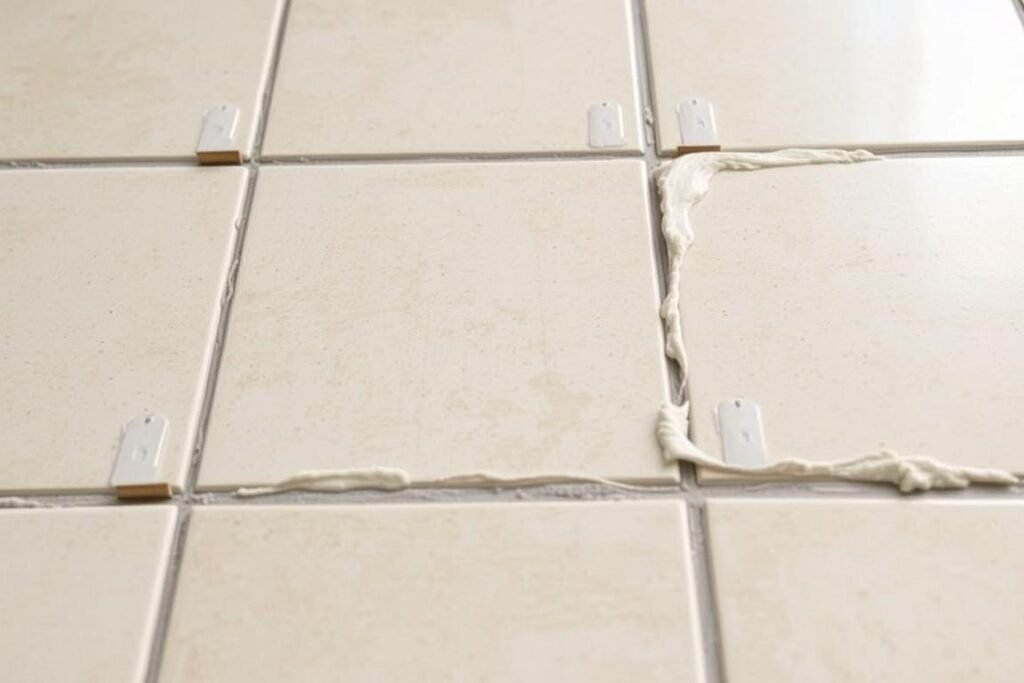
Grout line width affects both aesthetics and material requirements
Factors Affecting Grout Quantity
Most grout manufacturers provide coverage charts on their packaging based on tile size and grout line width. As a general rule, smaller tiles with wider grout lines require more grout than larger tiles with narrow grout lines.
Grout Selection Tip: Use unsanded grout for joints smaller than 1/8″ and sanded grout for joints 1/8″ or larger. For glass tiles, use non-sanded grout to prevent scratching.
Considerations for Different Tile Sizes and Patterns
The size of your tiles and the pattern you choose can significantly impact both the aesthetic of your space and the quantity of materials needed.
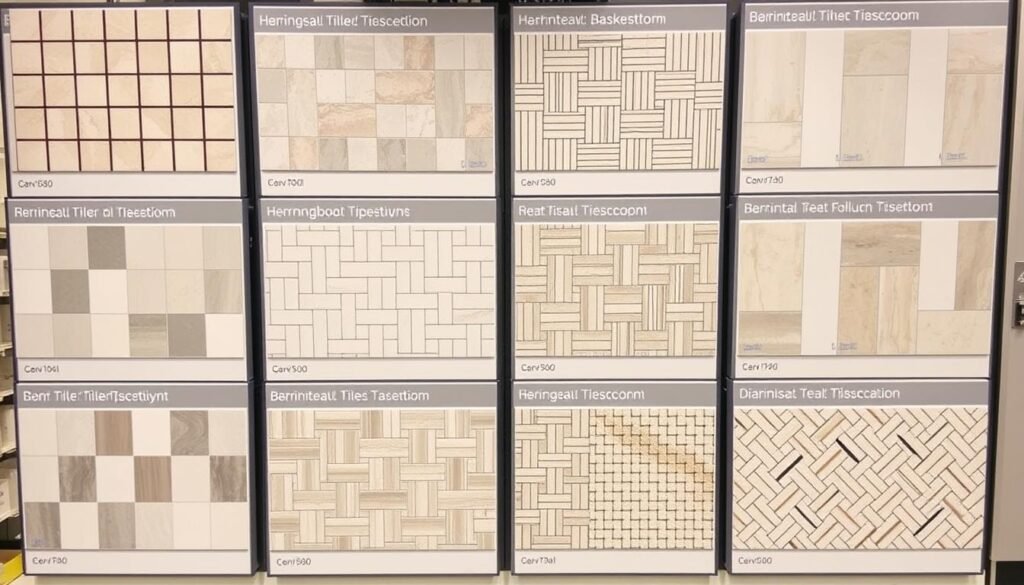
Different tile patterns create unique visual effects and require different calculation approaches
Common Tile Sizes and Coverage
| Tile Size (inches) | Area per Tile (sq ft) | Tiles per 100 sq ft |
| 4″ × 4″ | 0.11 | 900 |
| 6″ × 6″ | 0.25 | 400 |
| 12″ × 12″ | 1.00 | 100 |
| 12″ × 24″ | 2.00 | 50 |
| 18″ × 18″ | 2.25 | 45 |
Popular Tile Patterns and Their Impact on Calculations
Grid Pattern
The simplest layout with tiles aligned in straight rows. Requires minimal waste (10%).
Diagonal Pattern
Tiles installed at a 45° angle. Requires more cuts and waste (15%).
Herringbone Pattern
Complex zigzag pattern. Requires significant cutting and higher waste factor (20%).

Different patterns produce varying amounts of waste material
Practical Examples with Step-by-Step Calculations
Let’s walk through some real-world examples to demonstrate how to calculate tile quantities for different projects.
Example 1: Bathroom Floor
You’re tiling a bathroom floor that measures 8 feet × 6 feet using 12″ × 12″ ceramic tiles with 1/8″ grout lines. Let’s calculate how many tiles you’ll need:
Example 2: Kitchen Backsplash
You’re installing a subway tile backsplash in your kitchen. The area measures 30 square feet, and you’re using 3″ × 6″ tiles in a brick pattern.
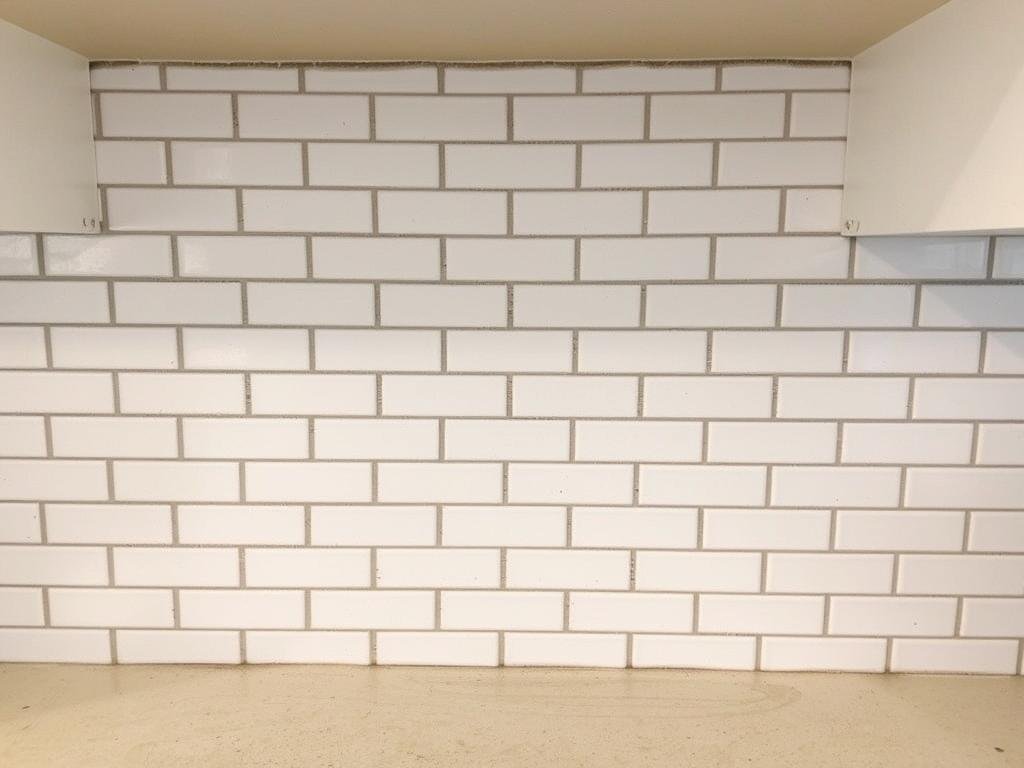
Subway tile backsplash installation requires precise calculations
Skip the Math, Use Our Calculator
Let our tile calculator do the hard work for you. Simply enter your measurements and tile size for instant results.
Tips for Reducing Waste and Saving Money
Proper planning can help minimize waste and keep your project within budget. Here are some practical tips to help you save on materials and costs.
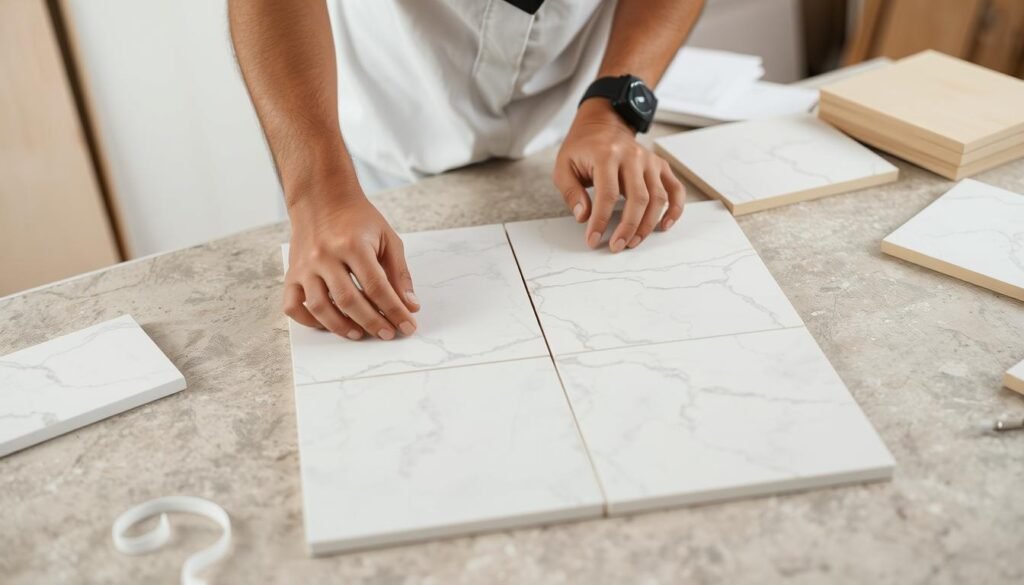
Careful planning and cutting can significantly reduce tile waste
Planning Tips
Installation Tips
Money-Saving Tip: Some retailers offer a return policy for unopened boxes of tiles. Purchase slightly more than your calculation suggests, and return unused boxes if not needed.
Common Mistakes to Avoid When Calculating Tile Needs
Even experienced DIYers can make mistakes when calculating tile quantities. Being aware of these common pitfalls can help you avoid costly errors.
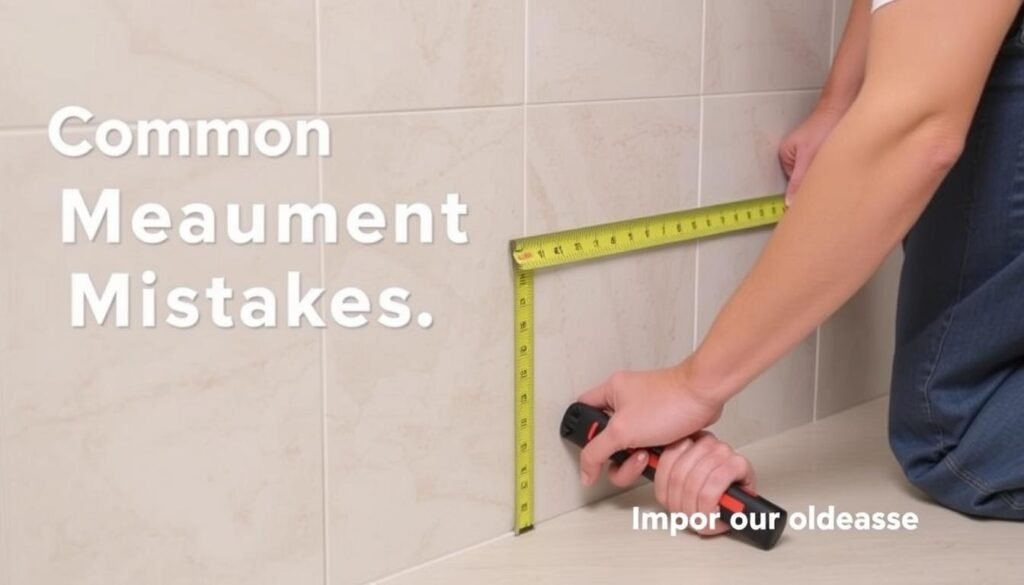
Accurate measurements are crucial for proper tile quantity estimation
Best Practices
- Measure each area multiple times for accuracy
- Include appropriate waste factor
- Account for all fixtures and openings
- Purchase all tiles at once from the same batch
- Consider pattern complexity in calculations
Common Mistakes
- Forgetting to add waste factor
- Not accounting for grout lines
- Measuring incorrectly or inconsistently
- Ignoring pattern requirements
- Buying tiles from different batches
Warning: Underestimating your tile needs can lead to project delays if you run out of materials. If additional tiles are needed later, they may come from a different batch with slight color variations.
Frequently Asked Questions About Tile Calculation
How many tiles do I need per square foot?
The number of tiles needed per square foot depends on the size of the tile:
- For 12″ × 12″ tiles: 1 tile per square foot
- For 6″ × 6″ tiles: 4 tiles per square foot
- For 4″ × 4″ tiles: 9 tiles per square foot
- For 3″ × 6″ subway tiles: 8 tiles per square foot
To calculate for any tile size: Number of tiles per square foot = 144 ÷ (tile length in inches × tile width in inches)
How much extra tile should I buy?
Industry standards recommend adding the following waste factors:
- 10% extra for simple grid patterns
- 15% extra for diagonal patterns
- 15-20% extra for complex patterns like herringbone
- 15-20% extra for irregular spaces with many cuts
For future repairs, consider keeping a few extra tiles after installation is complete.
How do I calculate tiles for irregular shapes?
For irregular shapes:
- Divide the area into regular shapes (rectangles, squares, triangles)
- Calculate the area of each shape separately
- Add all areas together to get the total
- For very irregular spaces, consider using the “box method” – measure the smallest rectangle that encompasses the entire area, then subtract the portions that won’t be tiled
- Add a slightly higher waste factor (15-20%) for irregular spaces
What’s the difference between floor and wall tile calculations?
The basic calculation method is the same for both floor and wall tiles, but there are some key differences:
- Wall calculations: Need to account for windows, doors, cabinets, and fixtures that won’t be tiled
- Floor calculations: Need to account for permanent fixtures like toilets, built-in cabinets, and shower bases
- Wall tiles: Often smaller than floor tiles, which affects the number needed
- Grout lines: Wall tiles typically use narrower grout lines (1/16″) than floor tiles (1/8″ or more)

Digital tile calculators simplify the estimation process
Ready to Calculate Your Tile Needs?
Our free tile calculator makes it easy to determine exactly how many tiles you need for your project, helping you save time and money.
Conclusion: The Importance of Accurate Tile Calculation
Accurate tile calculation is the foundation of any successful tiling project. By taking the time to properly measure your space, choose the right tile size and pattern, and account for waste, you can avoid the frustration of running short on materials or overspending on excess tiles.
Whether you’re a DIY enthusiast tackling your first backsplash or a professional contractor planning a large-scale installation, our tile calculator and the guidelines in this article will help you estimate materials with confidence. Remember that proper planning not only saves money but also reduces stress and ensures a smoother installation process.
For the most accurate results, use our tile calculator tool to quickly determine your material needs based on your specific project parameters. Happy tiling!
Proper planning and calculation lead to beautiful, professional results